![]()
Capture One was recently updated with a dedicated before and after tool, and new powerful heal and clone tools. Before this update, the healing and cloning tools were unusable to me, but now with this update, I can save the time of moving back and forth between Capture One and Photoshop.
As landscape photographers, we spend most of our time shooting in harsh conditions and changing lenses outdoors. Because of that, we get a lot of dust spots on our camera sensors, and the best way to get rid of them is by cleaning the sensor regularly. But if you forget to do that before a shoot, we can also remove them easily in post-processing.
Before removing the dust spots, we have to find them first. It can be difficult to spot them, especially in low contrast areas, and Capture One still doesn’t have a Visualize Spots mode like Lightroom. In this article, I will show you a trick that will allow you to see all the dust spots using a combination of contrast, clarity, and structure, and saturation.
Step 1: Create a New Heal or Clone Layer
We are going to use this layer to remove the dust spots.
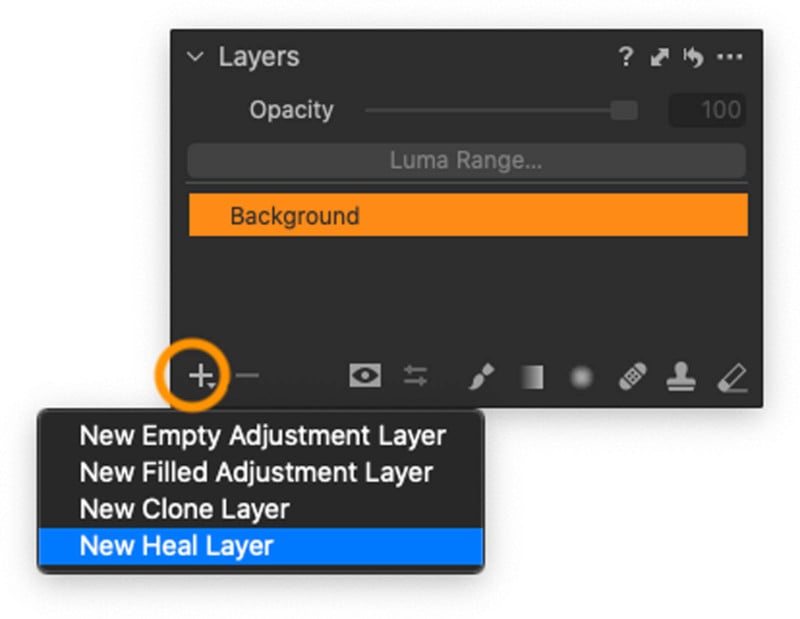
Step 2: Create a New Filled Adjustment Layer
This layer we will use as the dust spots finder.
![]()
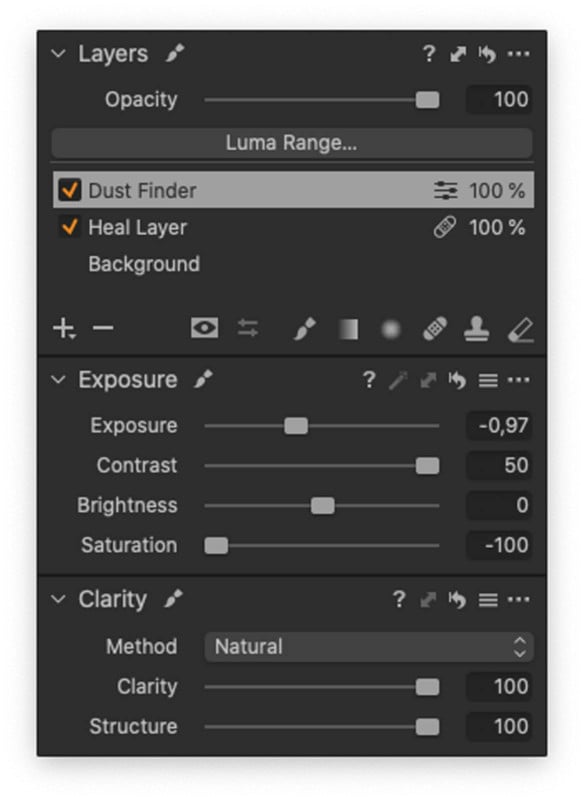
In this dust finder layer, we are going to lower the exposure slider a bit, and crank up the Contrast, Clarity, and Structure all the way. I also desaturate the image as Colors can be a distraction as well. The goal of those adjustments is to increase the contrast which will help reveal all the spots on the image.
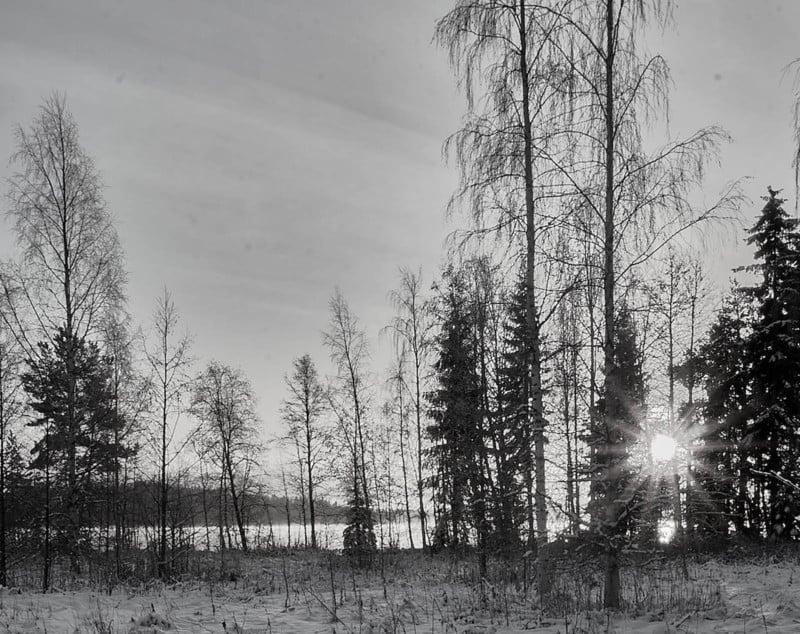
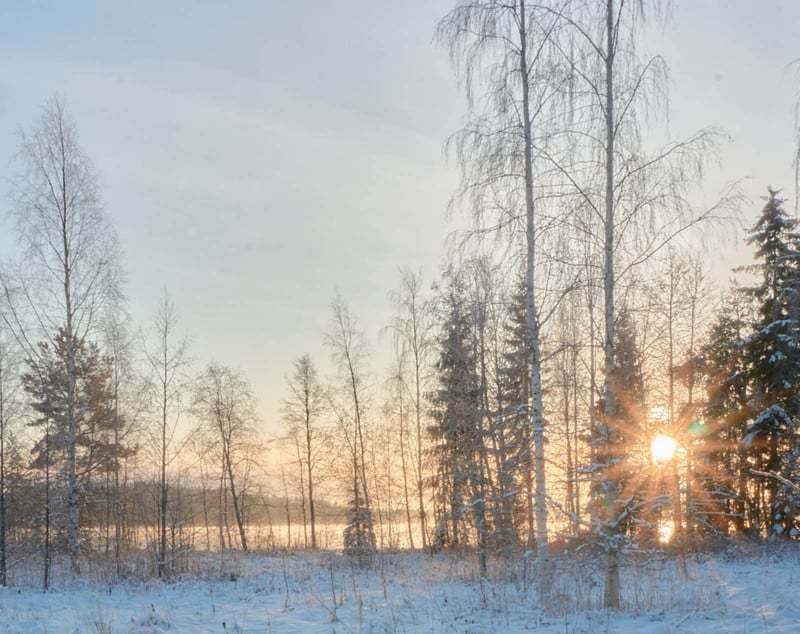
After making these adjustments, we made the image look horrible, but now we can see all the dust spots clearly.
Step 3: Remove the Dust Spots
Now go back to the dust spot removal layer and select the healing brush tool you can also use the keyboard shortcut ‘Heal Brush’ (Q) and ‘Clone Brush’ (S).
![]()
Healing
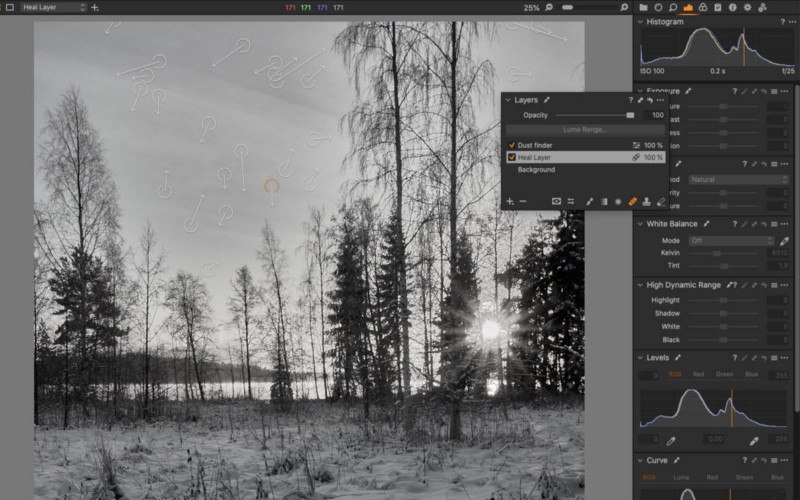
With the Heal brush tool selected, start clicking on the area you want to remove. Capture One will try to find the best suitable source point to heal the area you selected. Capture One will display the chosen source, so you can move the source point freely if you are not happy with what Capture One selected for you.
Sometimes Capture One will not display the Selected source because it thinks it has found the best source so you won’t be able to move it. If that happens, you can force Capture One to show the arrow by just holding down (Option/Alt) and clicking on your preferred source point.
To delete any healed area, just select the source point and hit the (backspace) key. Or you can use the Eraser brush. There is no limitation number on how many healing strokes you do on one layer.
Cloning
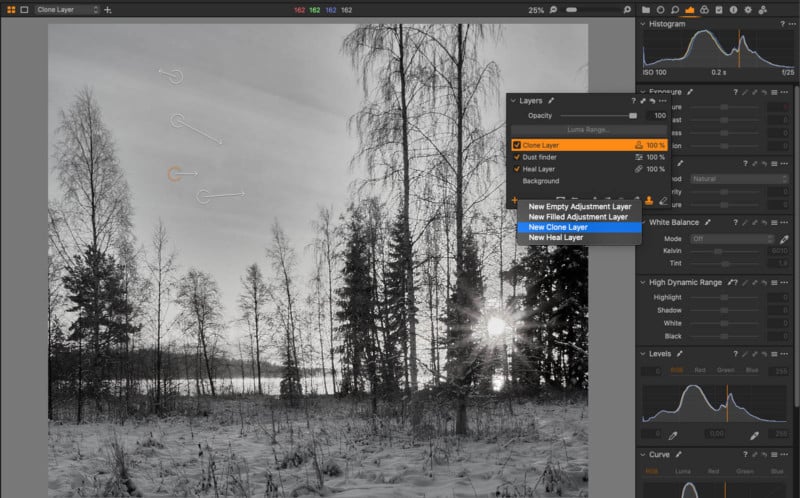
To use the clone brush tool, you need to set a source point that you are going to clone from first, set a source hold down (Option / ALT), and click on the source you want. Then start brushing. With the cloning tool, I recommend that you use a feathered edge brush (by lowering the hardness slider to the left) to make the cloned area blend seamlessly without noticeable cloning edges.
To delete a clone area, you need to select the source point then hit the (backspace) button. Also with the clone tool, there is no limiting how many cloning areas you can have on one layer.
Heal and Clone Brush Settings
To invoke brush settings, you can click on the icon in the layers tool or right-click when the brush is selected.
Brush Size: To control how large the brush is, you can move the slider left or right. You can also use the keyboard shortcut, the square brackets (“[” and “]”). Use the left square bracket to make the brush smaller and the right square bracket to make the brush larger.
Brush Feather: With the hardness slider you can control how hard or soft the brush edges are. You can also use a key shortcut, the Shift + square brackets (“[” and “]”). Use the shift+[ to make the brush softer and shift+] to make the brush harder.
![]()
![]()
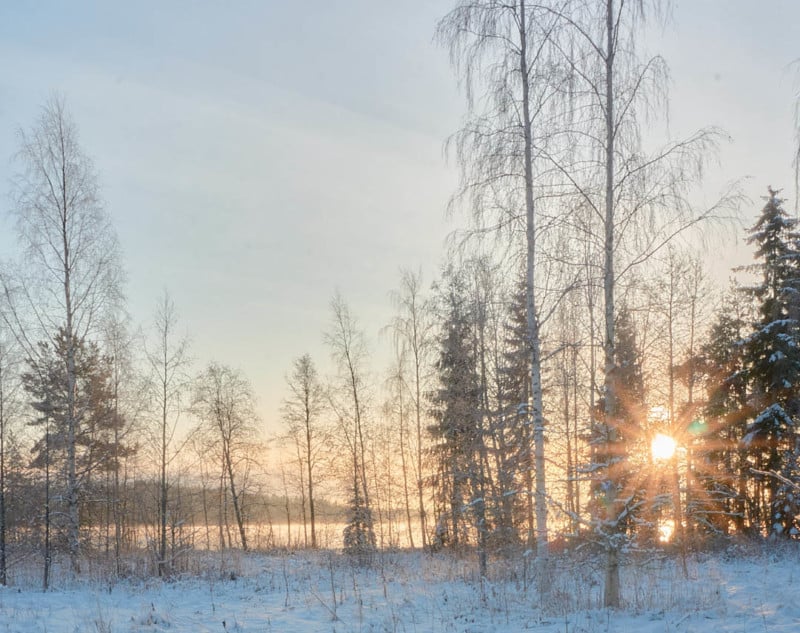
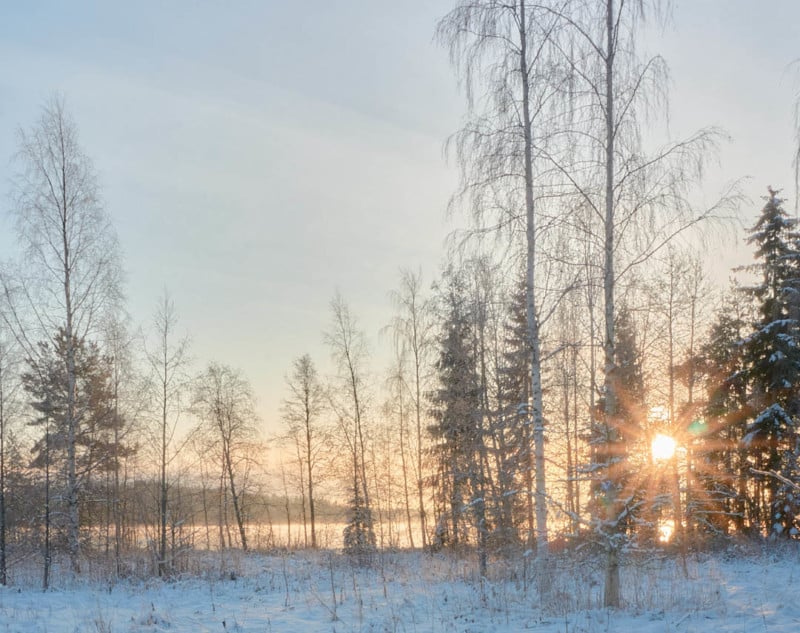
Here is the before and after removing the dust spots with heal and clone brush tools:
Delete Selected Layer
After you have removed all the dust spots, now you can just delete the dust finder layer as we don’t need it anymore. Or you can save it a Capture One style so you don’t have to do those steps every time you need a dust spot finder layer.
About the author: Samir Zarrouk is a landscape and architecture photographer based in Finland. The opinions expressed in this article are solely those of the author. You can find more of Zarrouk’s work on his website, Twitter, and Instagram. This article was also published here.
No comments:
Post a Comment