
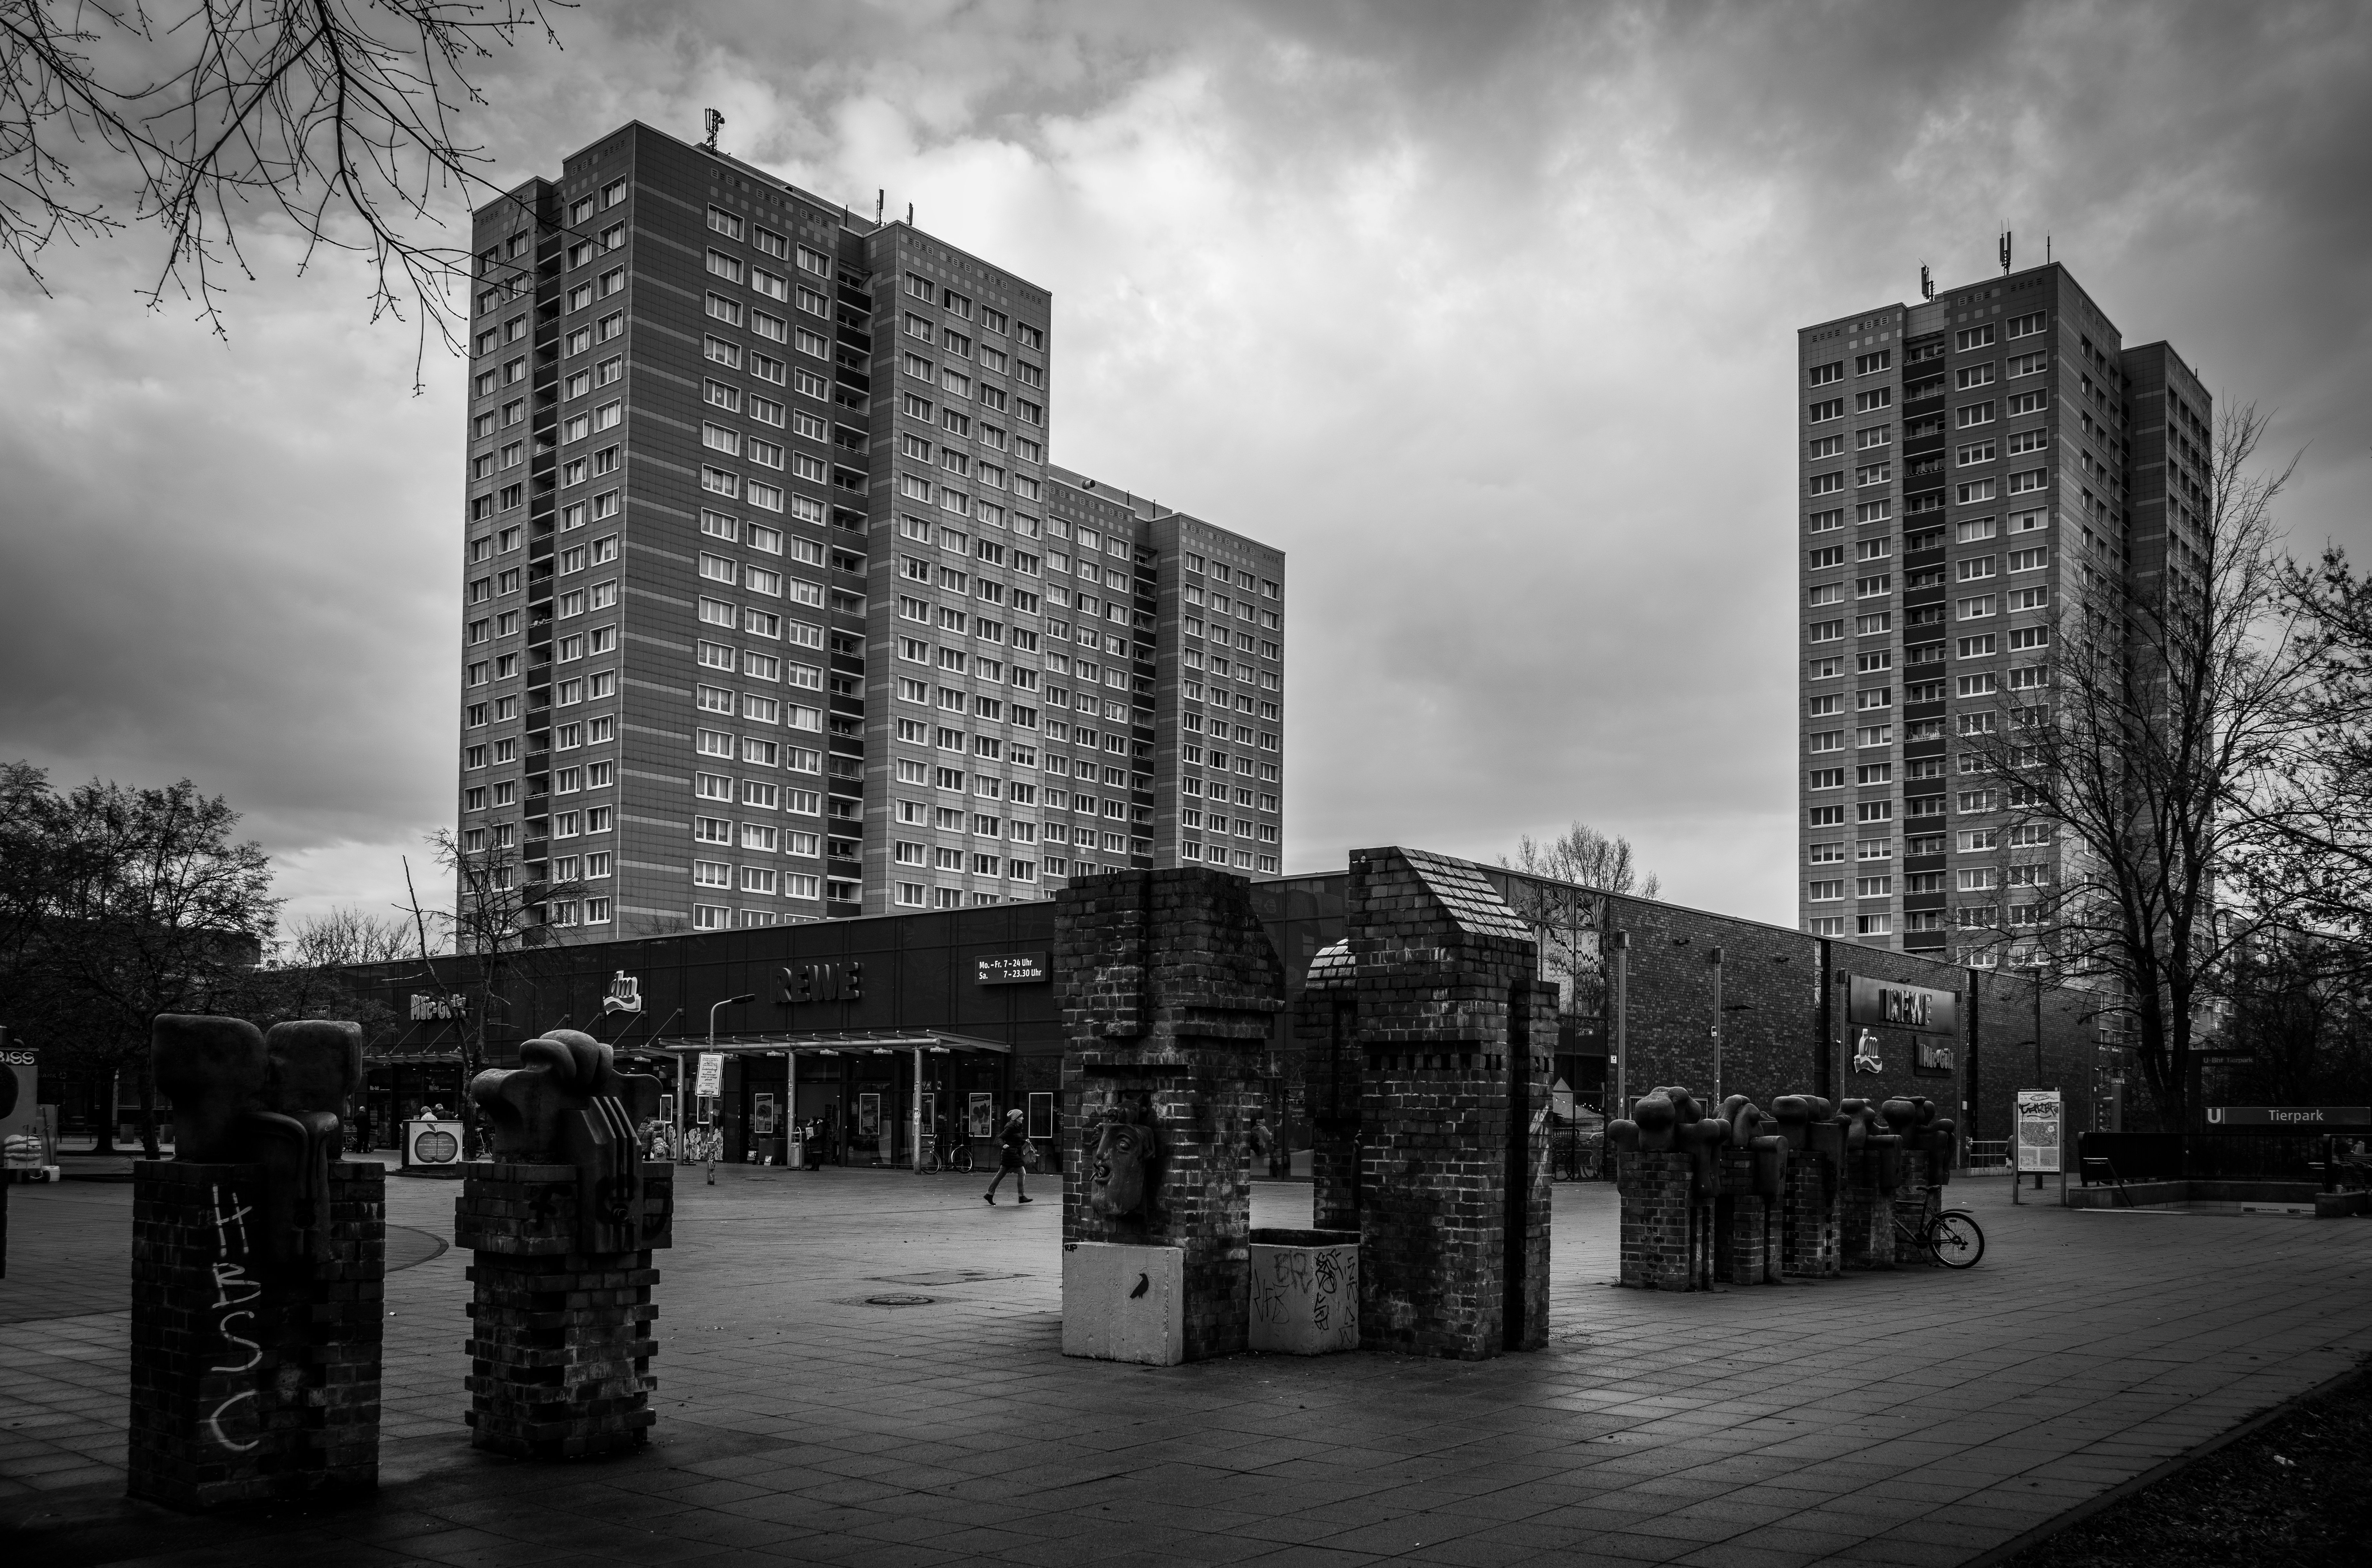
Want a high-quality lesson on travel and landscape photography without having to spend any money? Popular Canadian photographer Taylor Jackson has released this amazing 3-hour video tutorial that’s completely free (it’s supported by YouTube ads).
Quite a bit of time and energy went into this video — Jackson spent a full week in Iceland, a full week in Tokyo, and then 5 full days editing it together.
“It started as a few regular tutorials, and [I] realized pretty quickly that there was no reason to draw out what could be summarized in a 3-minute video into a 15- to 20-minute video,” Jackson tells PetaPixel. “So we just made the content all as tight as possible, and put it in one easy place with a table of contents.”
Here’s the table of contents in case you’d like to skip to a particular section or subject:
0:00:36: Overdramatic Intro 0:01:40: Learning to See Light and Composition 0:02:39: Important Foundational Element 0:03:22: One Tip from Manny Ortiz 0:04:23: Lenses, Cameras and Character Types 0:16:30: Gear – Other Important Items 0:26:12: Camera Modes (Manual, Aperture Priority, Shutter Priority) 0:27:23: Camera Settings 0:30:18: Light – The Most Important Aspect of Photography 0:33:00: App for Golden Hour and Blue Hour 0:33:37: Shooting into a Sunset 0:36:56: Rule of 3rds, and My Take On It 0:37:55: Let Me Tell You About My Boat 0:40:59: Why I’m Shooting Less Through The Viewfinder 0:42:14: Auto Focus Modes 0:43:16: White Balance 0:44:17: Viewfinder Vs. LiveView/Monitor 0:44:36: Getting More Depth and Sharpness 0:45:28: Why Use Long Lenses in Landscapes 0:46:13: Blue Hour vs. Golden Hour 0:46:39: General Handheld Shutter Speed Rule 0:47:19: Waiting for Northern Lights in Iceland 0:47:50: When Locations Just Don’t Work 0:49:59: Showing Movement in The City / Slow Shutter Handheld 0:50:51: Frames // Interlinked 0:51:38: Natural Frames 0:55:46: Polarizing Filters 0:57:31: Mid Day Harsh Sun Photos 1:00:00: Waterfall Long Exposures in Iceland 1:00:13: LOL Whoops 1:00:29: It’s Probably a Great Transitional Scene. You’ll Never Know. 1:02:26: Very Important Japanese Toilet Content 1:03:32: Long Exposures in the City at Blue Hour 1:06:10: Times to Use a Super Wide Angle Lens 1:07:22: Long Exposures WITHOUT a Tripod 1:08:56: Shibuya Crossing, and Including People with a Super Wide 1:10:19: Ice Caves, and Complimentary Images 1:11:20: Panning and Capturing Movement 1:13:20: Rooftop City Scapes 1:15:04: Symmetry Reflections and Panoramas 1:17:20: The Element of Random – City Photography from a Moving Car 1:18:52: Photographing The Stars 1:18:24: Northern Lights Photography 1:21:38: Blue Hour City Scapes and Natural Contrast 1:23:39: Blue Hour City Long Exposures 1:26:16: Post Processing 1:26:48: Get a Tablet 1:28:49: Adobe Lightroom 1:31:03: Photo Mechanic 1:32:45: Adobe Lightroom Library View – The One Thing I Use It For 1:34:44: Adobe Lightroom Overview – All The Tools and Sliders I Use 1:41:45: Editing RAW Files From Video In Lightroom 2:20:51: Making a Long Exposure From Multiple Frames 2:29:12: Building and Editing Panoramas 2:55:12: Adobe Photoshop – The Only Thing I Use It For 3:04:49: Final Thoughts
“I wanted to release [this tutorial] for free because I felt it was something that was lacking from YouTube,” Jackson says. “I wanted to teach the things that I do to come back from a trip with good photos, but also not let photography dominate the entire trip. Simple ways to take better photos, and travel light. Some tricks and hacks to do things like ~10 second long exposures handheld.
“My goal with travel and landscape photography is to keep it as simple as possible. You can do a lot with a little nowadays.”
The National Archives is an independent government agency that’s tasked with preserving and documenting government and historical records. An authority on authenticity, it was just caught doctoring photos containing messages critical of President Trump.
The photo at the center of the controversy was captured by Getty Images photographer Mario Tama on January 21st, 2017, as a massive crowd marched down Pennsylvania Avenue in the nation’s capital the day after Trump was inaugurated.
The original, unaltered photo shows a sea of signs being held up by the march, which was widely viewed as a protest to the election results. But in the large 49×69-inch photo greeting visitors at the Archives’ exhibition, some of the signs look different, yet the photo wasn’t accompanied by any disclosure that it had been edited.
The Post points out that one sign in the bottom-left-hand corner of the photo, which originally read “GOD HATES TRUMP,” has had the TRUMP blurred out in the exhibit:
A crop of the sign in the original photo (left) and the blurred sign in the exhibition (right). Blurred sign crop via Washington Post.
Another sign that read “Trump & GOP — Hands Off Women” also had the President’s last name blurred out. Also blurred were words on signs that referenced women’s anatomy — this included the word “vagina” on a sign that read “If my vagina could shoot bullets, it’d be less REGULATED” and the word “pussy” on a sign reading “This Pussy Grabs Back.”
What’s interesting is that the decision to “Photoshop” the signs was reportedly made during the development of the exhibit by a team that included David S. Ferriero, the Obama-appointed head of the National Archives.
“As a non-partisan, non-political federal agency, we blurred references to the President’s name on some posters, so as not to engage in current political controversy,” Archives spokeswoman Miriam Kleiman tells the Post. “Our mission is to safeguard and provide access to the nation’s most important federal records, and our exhibits are one way in which we connect the American people to those records. Modifying the image was an attempt on our part to keep the focus on the records.
“We do not alter images or documents that are displayed as artifacts in exhibitions. In this case, the image is part of a promotional display, not an artifact.”
The Archives also told the Post that certain words on signs were blurred due to the fact that the museum often hosts groups and young visitors.
It’s unclear whether there have been prior cases in which the Archives edited photos in hopes of avoiding political controversy and offending visitors.
Image credits: Header photo by US National Archives virtual tour.
Here’s a 16-minute report by CNBC that looks into how Amazon returns work. At the 14:39 mark, there’s an interesting tidbit that you may not have known: when you see third-party camera bundles on Amazon with a body, lens, and/or accessories, many of those items may have been previously returned.
In addition to reselling returned items through its Amazon Warehouse program, donating them, or returning them to suppliers, Amazon also sells returned items in bulk to third-party companies. Those companies then repackage them, sometimes with added accessories, and then sell them for a profit back on Amazon.
The example CNBC points to is the big market for camera bundles — the listings that contain all kinds items gathered into one convenient package that are often seen as sponsored products:
If you want to make sure you’re not buying previously returned equipment, make sure the listings you’re looking at show reputable brands as the seller (instead of third-party companies) and that they’re shipped from and sold by Amazon.com.
Schlieren imaging is a fairly standard optical technique for visualizing heat, sound, or pressure differences in air. Technically, a schlieren system is able to see clear disturbances in air due to slight differences in the speed of light in the air. The technique can be sensitive enough to see the heat rising off a human hand at room temperature.
High-quality schlieren systems typically use large optical mirrors that are expensive and beyond the budget of most optics classes. Here I will present the simplest design for a system that any student can build, align, and experiment with.
This simple design uses a plastic Fresnel lens. A Fresnel lens is a flat lens that is most commonly found in overhead projectors. Historical Fresnel lenses were used for light gathering applications in which an image was not dependent on the quality of the lens. The first Fresnel lens was designed for a lighthouse.
In recent years, the Fresnel optics have improved so it was time to see if a Fresnel lens could be used in a schlieren system. The real interest in a Fresnel lens is that the lens has a large clear aperture — this means that relatively large objects can be tested in this area. High-quality lenses with a 250 mm clear aperture are very expensive.
The ideal lens for a simple schlieren system is between /4 and /8. The -number of the lens is simply the ratio of the focal length of the lens divided by the clear aperture of the lens. Most Fresnel lenses have a very low f-number and are not desirable for schlieren systems. Modern manufacturers offer /4 lenses.
To test out some of these lenses I ordered one from a Chinese manufacturer that was selling surplus optics on a popular on-line auction. I was unable to find a US source of a similar optic.- (if you find one please drop a note in the comments below). My price for a 250mm diameter lens with a focal length of 1,000 mm was only $20. This /4 Fresnel lens would be perfect to test in a simple schlieren system.
This particular design is called Toepler’s single-field-lens schlieren arrangement and is considered a basic schlieren set up to build. The equipment needed is: 1 is the light source, 2 is the Fresnel lens, 3 is a heat source (hot soldering iron works well), 4 is a knife edge, 5 is the camera and lens.
The black rays in the diagram above represent rays from the light source that do not interact with any heat source and are blocked by the knife edge. The red ray represents rays of light that have been bent by the heat source and are seen by the camera. The knife edge does not have to be a sharp edge – a sheet of black paper works well and is probably safer for students to use in a dark room. The camera lens for my test was a 300 mm Canon lens and was focused on the hot object. For the images for this article, I used a candle. In this setup, the hot object is on the same side of the lens as the camera, so the lens can easily be focused on the hot object.
The light source is a simple white LED run from a 5 VDC lab power supply. To keep the LED from burning out, I used a 330-ohm resistor in series to limit the current.
The larger the interaction distance of the heat source in the schlieren system, the larger the sensitivity of the system. This location is a good compromise between image quality and sensitivity. A student should test the best location of the heat source in the system for themselves. Moving the heat source to different parts of the system and testing the results is a great way to familiarize yourself with the sensitivity of the system
The Parts
The White light 5 mm LED connected to a 5 VDC supply. Note the 330ohm resister used in series to limit the current. To align the LED and the lens, make sure the LED is the exact height above the table as the center of the lens.The fresnel lens is mounted to a ring cut into plywood. The clamps hold the lens in place and keep it flat. Above the orange clamp is the glowing white light LED.The 5mm white LED is focused on a white sheet of paper. Here the image is about 12 mm in diameter. The two star flairs seem to be due to manufacturing defects in the lens. These could not be eliminated by changing the alignment of the LED to the lens. Not a very good image from this lens.The red area shows approximately how much of the image needs to be covered by the knife edge to observe the schlieren effect.Here the cardboard used as the knife edge is shown. Most optical setups will use an open razor blade as the knife edge. The paper is a bit safer for students working in a darkened room. The lens is a 300mm canon lens.The live view mode is a great help in placing the cardboard knife edge in just the right position.The Fresnel lens is shown in the setup. The height of the white 5mm LED shown in the back is the same as the center of the lens. The candle, soldering iron, and lighter are shown in the picture – all great sources of heat. The clamps keep the lens in the holder as well as keep it flat.
The Results
These images were taken with a 300mm Canon lens at /2.8 the shutter speed was 1/3200th of a second at ISO 1600. The fast shutter speed is important to stop the motion. The camera used here was a Canon 5D MK III. The speckles seen in the images above are due to manufacturing defects in the lens. This Fresnel lens has hundreds of very fine positioned surfaces that make up the lens – some of the surfaces are not quite pointing in the right direction.
The results of the Fresnel lens are quite good for the price. If you are looking for an inexpensive schlieren system for teaching, or need a system with a large clear aperture, this system will definitely work. I was unable to see heat rising from a human hand. This shows that the system does not have the sensitivity to visualize small amounts of heat. This is a good system for students to learn the technique. The schlieren effects from a candle, a soldering iron, a lighter, and caned air were all easy to observe and photograph with this system.
A Bit Deeper into the Optics
The optics thin lens formula can be used to determine where the light will focus, as well as figure out if the experiment will fit in your lab space.
Schlieren systems are a great way to visualize small changes in the index of refraction (n) of air. The index of refraction of a material is the ratio of the speed of light in a material (air) to the speed of light in a vacuum.
The bigger the value of the easier it is for a schlieren system to detect the difference. The index of refraction of room temperature air is about 1.0003 and changes to 1.0002 when the temperature is increased by 100°C. The velocity of light is about 0.01% greater in the hot air compared to the room temperature air.
If a schlieren system can see the heat from a human hand, then the system is considered very sensitive and well-aligned. Different gasses will also have a different index of refraction than air, gasses like carbon dioxide and helium are easy to detect in air with a simple schlieren system.
About the author: Ted Kinsman is the 2019 recipient of the Schmidt Laureate or outstanding contributions to the progress of biocommunications. Kinsman has worked as an optical engineer, a physicist, and a physics instructor before joining the Photographic Sciences Dept. at RIT. His work has appeared on The Discovery Channel, Crime Scene Investigations (CSI), The X-Files, South Park, The Tyra Banks Show, and The Frozen Planet series. Kinsman is currently an Associate Professor in the school of Photographic Arts and Sciences (SPAS) where he teaches Photographic Instrumentation, Scanning Electron Microscopy, and High-Speed Imaging. His most recent book is Cannabis: Marijuana under the microscope.
In an entertaining new head-to-head video, Henbu traded his $5,750 worth of professional photo gear with his brother Nathan, who had recently acquired a Sony a6000 kit on sale for about 500 bucks. Then they went out and tried shooting several of the same locations using their respective kits.
No matter the location, Henbu is able to take advantage of his experience and knowledge of composition, color, and even just the basics of how to use and set the camera in order to capture much more pleasing images. Our favorites are the shots around the 6:22 mark, which really stand out from the rest.
In fact, even when they picked the same or similar compositions, it’s immediately obvious which photographer took each shot.
Check out the full shootout above for a fun Friday afternoon reminder that, while gear might help you get a better shot (or do more of the work for you), nothing can replace experience and an understanding of the art of photography.
In early November, Panasonic announced that a 70-200mm f/2.8 for the L-mount was coming soon. The lens represents, which comes in at a hefty $2,597.99, is a major step closer to completing the holy-trinity lineup for their S series cameras.
Additionally, Panasonic says that this lens will offer 7 stops of stabilization on the S-Line cameras, a pretty impressive spec for a full frame tele-zoom. We were sent a sample model (with pre-production firmware) for a few days to test out.
Design
The Lumix S Pro 70-200mm f/2.8 is a hefty lens, coming in at 3.46lbs. This is in part due to its 22 total elements (in 17 groups – including 1 aspherical, 3 extra-low dispersion, and 2 ultra extra-low dispersion elements). With all of the ELD elements, the lens features minimal chromatic aberration, and results in sharp images throughout the focal range.
Similarly to the 16-35mm f/4 that was announced alongside this lens, Panasonic says that focus breathing is minimal, which is great news for videographers. The autofocus features a double focus system, which combines a linear motor and a stepping motor to achieve fast and precise focus.
On the outside, the lens is built like a tank. Every part you touch feels solid and well made, and the lens is dust/moisture resistant, as you would expect.
Unlike most 70-200mm lenses on the market, the Panasonic 70-200 features a focus clutch mechanism that allows users to quickly switch between auto/manual focus modes. The zoom ring is also nice and large, and has a fairly short throw with a moderate amount of resistance.
There are two switches near the base, one for the OIS (Off/1/2), and one for the focus limiter (Full/.95m-5m/5m-∞). The tripod collar is solid, and features an arca-swiss foot—something you won’t find on Canon/Nikon/Sony’s 70-200’s. The tripod foot also doubles as a pretty convenient handle with which to carry the lens/camera.
There are also focus hold buttons on the lens, an often seen feature on lenses like this.
Real World Use
For portrait shooters, this lens is a great complement to the 24-70mm f/2.8. The face/Eye-AF works great and does a good job of tracking a person’s eye. Hunting is minimal, and it focuses pretty fast in lower light situations.
Panasonic’s autofocus isn’t the best for fast action, but the lens did pretty well when shooting a high school ice hockey game with mediocre lighting and dirty boards. While there were a good amount of out of focus shots, it didn’t struggle focusing past the glass—the issue was moreso trying to keep up with the fast-moving players.
After shooting with the lens for a bit, I found it’s quite sharp wide open throughout the scene at 200mm. The center is equally sharp at 70mm; however, the corners are a bit softer. That said, when comparing some images taken with Sigma’s 70-200 Sport, Tamron’s 70-200 G2, and Nikon’s 70-200 f/2.8E (using cameras similar to the S1), the Panasonic seems to be the sharpest of the bunch when looking at the extreme corners 1:1.
Sample Images
Final Thoughts
Panasonic definitely put a lot of effort into this lens, both in therms of build quality and the quality of the glass. And while it does raise eyebrows at $2,600, that’s still slightly less than Nikon’s 70-200 f/2.8E.
Not having to use an adapter with an EF mount 70-200, and having 7-stop Dual Image Stabilization are definite advantages of going with the native option, but initially many people may lean towards the adapted option—at least until some rebates hit.
That said, if you’re looking for supreme image quality, and the best autofocusing possible from Panasonic, this lens is definitely the way to go.
The Panasonic Lumix S Pro 70-200 f/2.8 OIS starts shipping now, and can be ordered here.
More images in higher resolution can be found here.
About the author: Ihor Balaban is a photographer and store manager of the camera store Pixel Connection in Avon, Ohio. To learn more about the store, head over to the Pixel Connection website. This post was also published here.
Almost 5 years after the last Leica M-Monochrom (Typ 246) was announced in 2015, Leica has ditched the “Typ” number, increased the resolution, and expanded the ISO range to unveil the new M10 Monochrom: a camera that promises “an unparalleled black-and-white photography experience.”
The Monochrom has always been a niche camera for a niche audience, but if you want ultimate sharpness, dynamic range, and detail in your images, it’s a hard camera to beat… you just can’t shoot in color.
Now, with an increase in resolution, updated processor, and an expanded ISO range of 160-100,000, all of the cameras strengths just got stronger. Particularly notable is the new base ISO of 160, an impressive feat for a camera without a bayer filter. Combine that with a brand new 40MP sensor that was developed specifically for this camera, and you’ve got a black-and-white only digital rangefinder that can deliver even sharper images in a wider variety of shooting scenarios that its predecessors.
As you can see from the full-res sample images below, you can capture a stunning amount of detail with this camera (click to enlarge):
Design-wise, the black-and-gray M10 Monochrome is rather understated, lacking the iconic Red Dot and opting for a black-on-black engraving for the actual model name on the top plate. It also benefits from some of the advancements found in the Leica M10-P, namely: the slimmer body, dedicated ISO dial, and “the quietest mechanical shutter of all Leica M rangefinders.”
Finally, there are also a few niceties, like the addition of touchscreen controls and built-in WiFi that lets you pair the new camera with Leica’s full-featured FOTOS 2.0 app. Video capabilities, on the other hand, have actually been removed.
Here’s a close look at the M10 Monochrom, which Leica is calling its “stealthiest serial production camera yet.”
Which brings us to the least enjoyable part of any Leica announcement: the price. The Leica M10 Monochrom is available starting today for $8,295 (body only), making it a little bit more expensive than its predecessors were at launch.
I guess that’s the price you pay for “a long-term companion that delivers an unparalleled experience and impeccable image quality, as timeless as the classical black-and-white photos it creates.”
To learn more about the Leica M10 Monochrom or if you have the cash and interest in ponying up for your own, visit the Leica website.