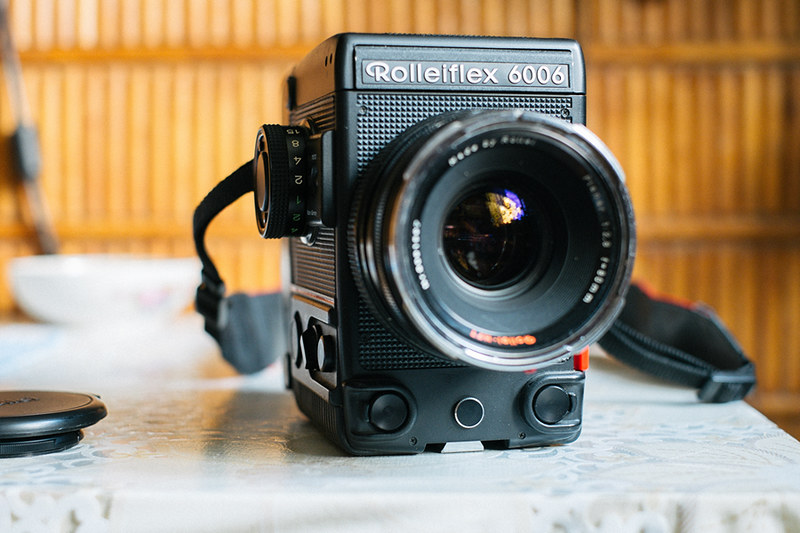
Square format simplifies shooting because you never have to rotate the camera. You can edit the image to any format you like.
I always preferred rectangular prints. Square format, such as the 6×6 Rolleiflex, looked wrong to me. But that format was needed for a twin lens reflex because of the waist level finder, which you didn’t want to turn on its side.
But just because the image is recorded square, you don’t have to print it or post it square. You can edit to any shape you want. But you might think, “I don’t want to throw away part of my image”. I didn’t either… until I ran this test.
I shot the same tree on my Asahi Pentax 6×7 camera, loaded with fine grain film, with both horizontal and vertical orientations. I adjusted the distance in order to capture the entire tree with both shots. Then I made a portrait-orientation 11×14 print from each negative. The print from the horizontal capture required 6.2x enlargement and the print from the vertical capture needed 5.3x enlargement. Nobody could tell the difference between the prints — even when they examined them with a magnifying glass!
Around that time I needed interchangeable backs, which my 6×7 lacked. Luckily I connected with a guy in Seattle who traded his square Rollei 6006 for my Pentax 6×7.

The more I shot with the 6×6, the more I came to love the square negative. I never had to think about rotating the camera when shooting because I could make the decision between portrait and landscape orientation in the darkroom. I could always look down into my reflex viewfinder. My bounce flash always worked properly. I never had to tilt my tripod head sideways. It simplified and speeded my work.
If the various common formats were converted to a sensor of the same diagonal length (in order to be covered by their existing lenses) here’s how they would work out.
Full Frame: 36x24mm would become 30.5mm square
APS-C: 23.5×15.6mm would become 20mm square
Micro Four-Thirds: 17.4x13mm would become 15.3mm square
“One Inch”: 13.2×8.8mm would become 11.2mm square
1/2.3″: 6.17×4.55mm would become 5.4mm square.
When square images are printed with the popular 8×10 proportions, the average “enlargement” from sensor to print will increase by only a few percent. Nobody would notice the difference.
I wish camera manufacturers would read this article and offer the square formats. But that’s not likely. However, you can stop rotating your camera very soon. First, whenever you encounter a vertical photo op, shoot it vertical as you always have, but shoot it horizontal too. Next, edit both shots. If you are satisfied with the horizontals, you can stop rotating.
Here is the same subject shot with the camera rotated and with the camera horizontal, then cropped. Because I resize images to 1500 pixels for sharing or publication, both images are substantially downsized. The shot with the camera vertical was downsized 6.3X and the shot with the camera horizontal was downsized 4.2X.
Another benefit of not rotating your camera is that your composition uses a more central, and thus sharper, part of the lens.
There are also situations, like shooting children from a low viewpoint, where a simple tilting screen allows you to compose with the camera low, but not when the camera is rotated to vertical. Of course, fully articulated screens can handle that. But I prefer the speed and simplicity of simple tilting screens.
About the author: Alan Adler lives in Los Altos, California. The opinions expressed in this article are solely those of the author. He has been an avid photographer for 60 years. He is also a well-known inventor with about 40 patents. His best-known inventions are the Aerobie flying ring and the AeroPress coffee maker.
Image credits: Header illustration based on photo by suju
No comments:
Post a Comment